Laying sod is one of the quickest ways to get a lush, green lawn. But if you want your new grass to thrive, the real work starts before the first roll of sod ever touches the ground. Proper preparation is key to helping the roots establish quickly and ensuring your lawn stays healthy long-term. In this guide, we’ll walk you through everything you need to do to prepare your lawn for sod.
Step 1: Clear the Area
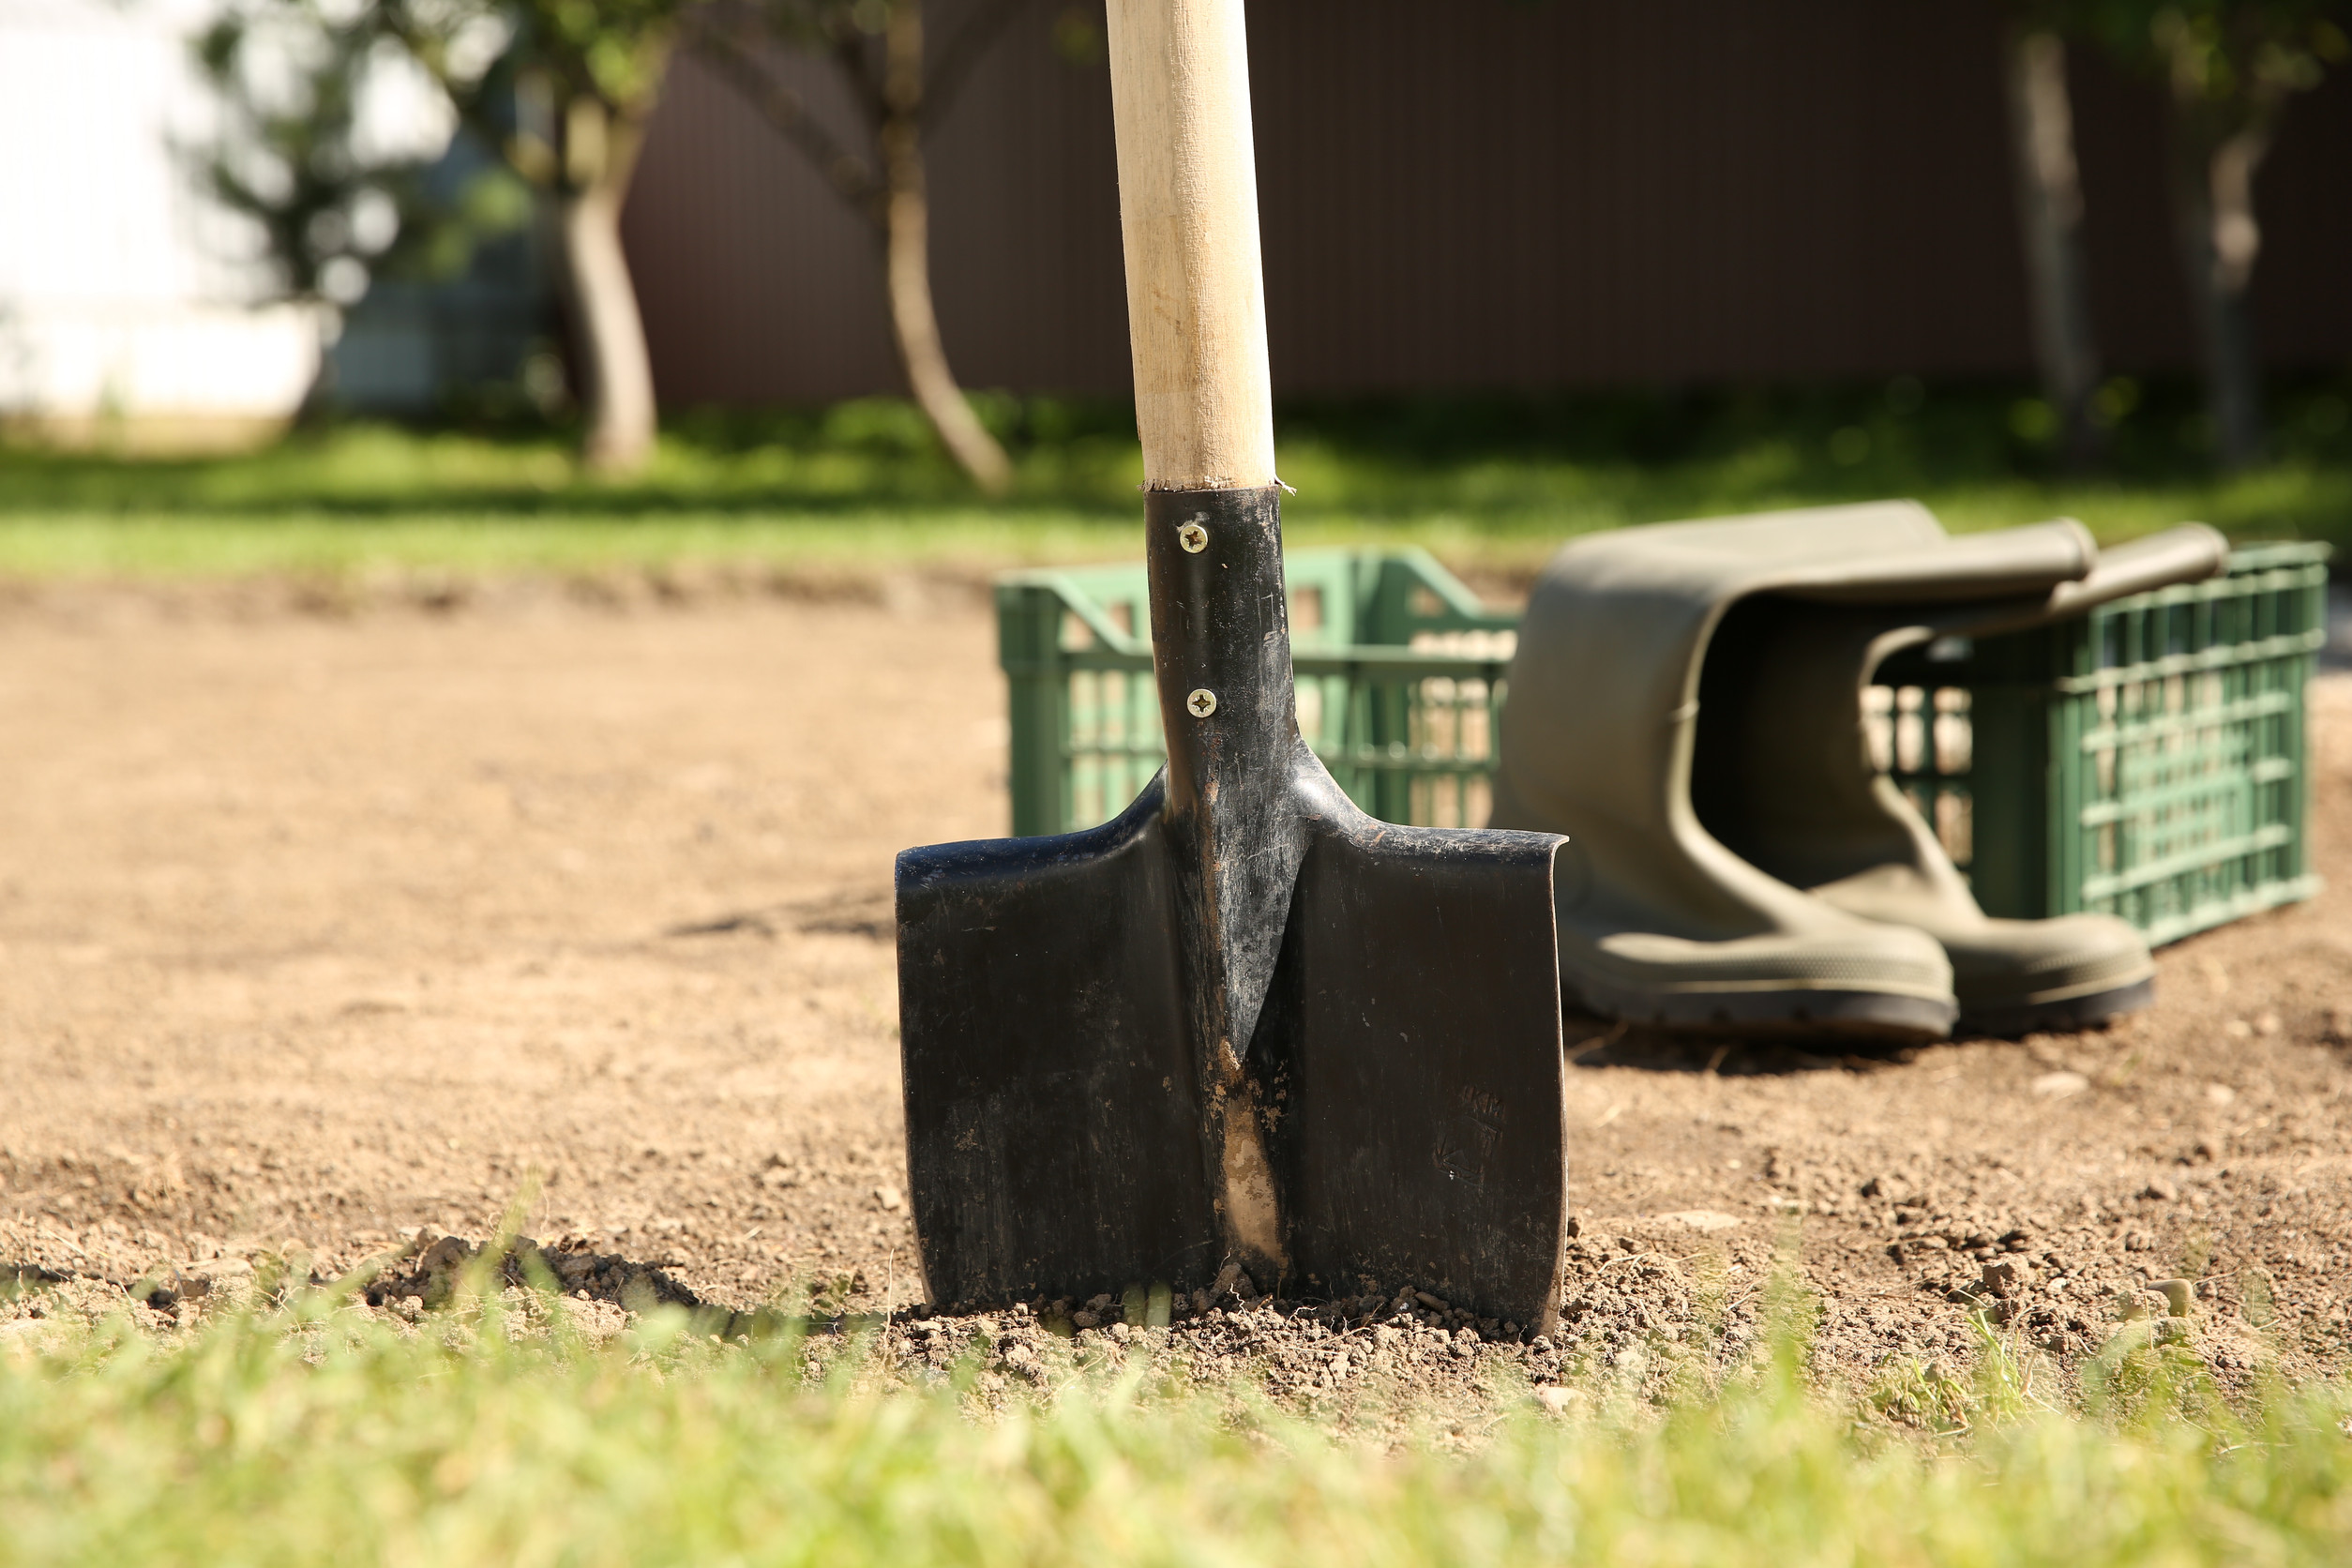
Before anything else, you need to remove what’s currently on your lawn. That includes old grass, weeds, rocks, and any debris. You can use a sod cutter or a shovel for this part. If weeds are a major issue, consider applying a non-selective herbicide about two weeks beforehand to make sure everything is dead and easier to remove.
Step 2: Grade the Soil
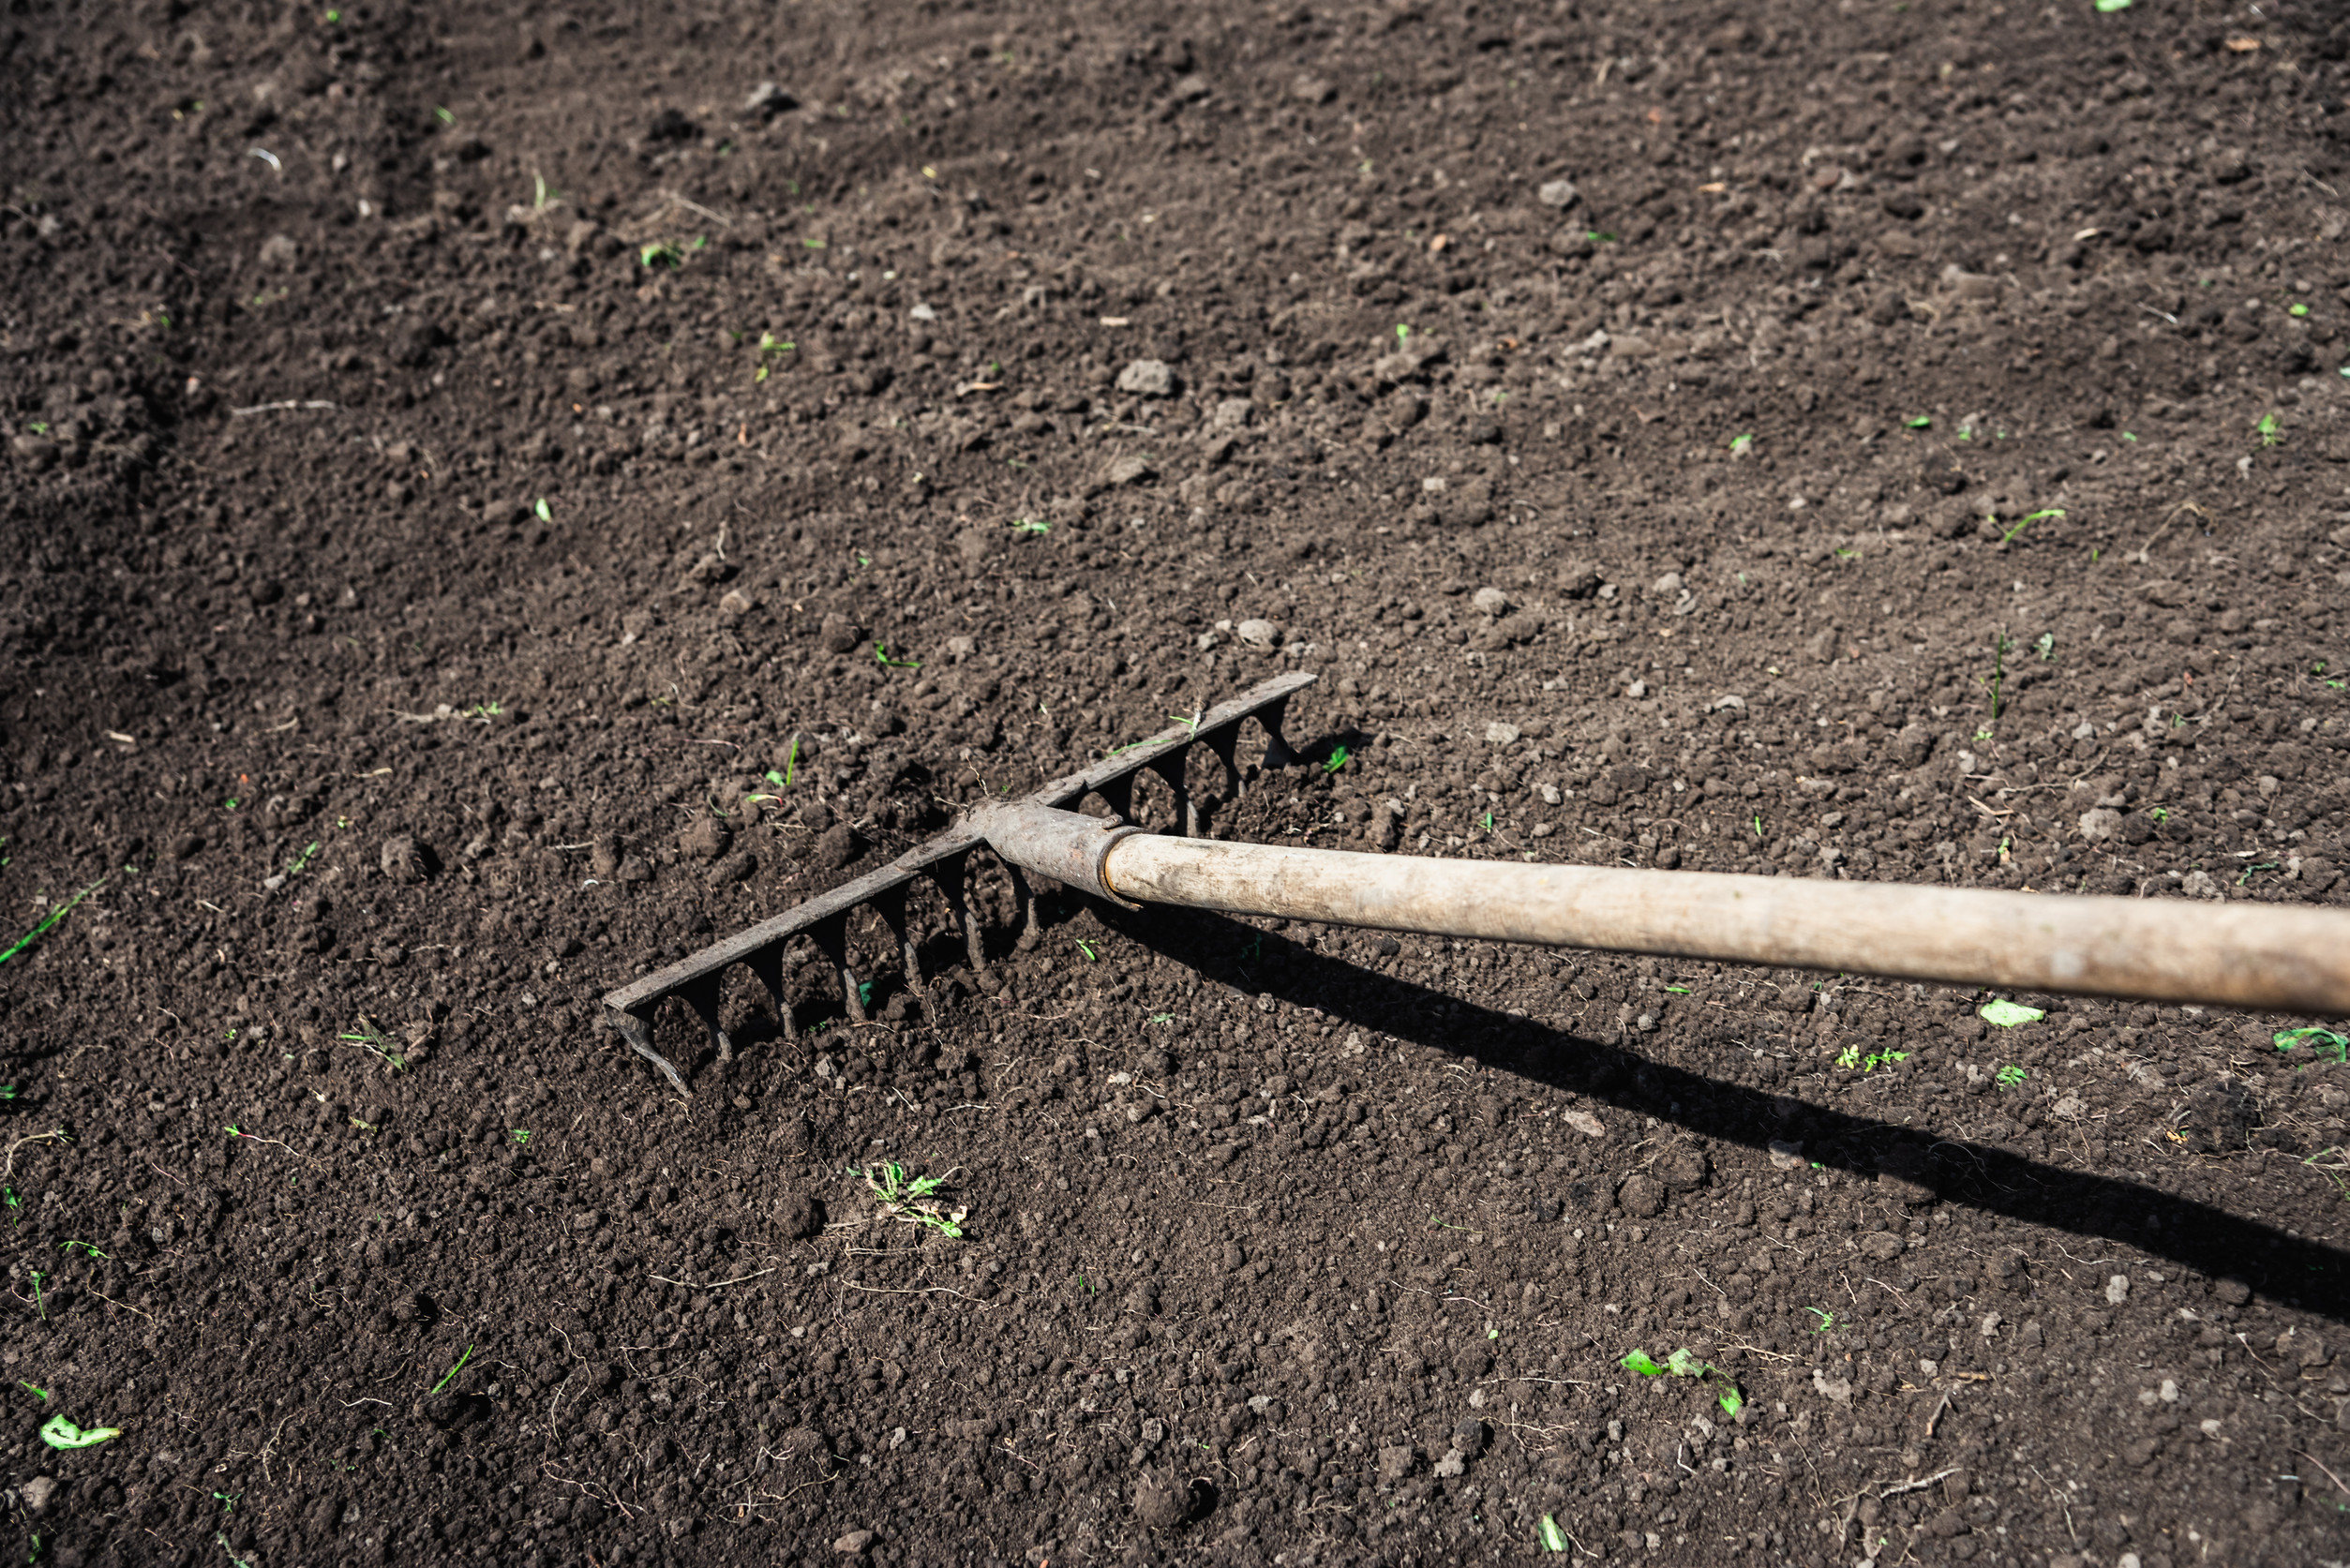
Once the area is clear, it’s time to grade your soil. This means creating a slight slope away from buildings to ensure water drains properly. Poor drainage can lead to root rot and other issues. Use a rake to level things out and fill in low spots. Read more about how to grade a yard for proper drainage.
Step 3: Test and Amend the Soil
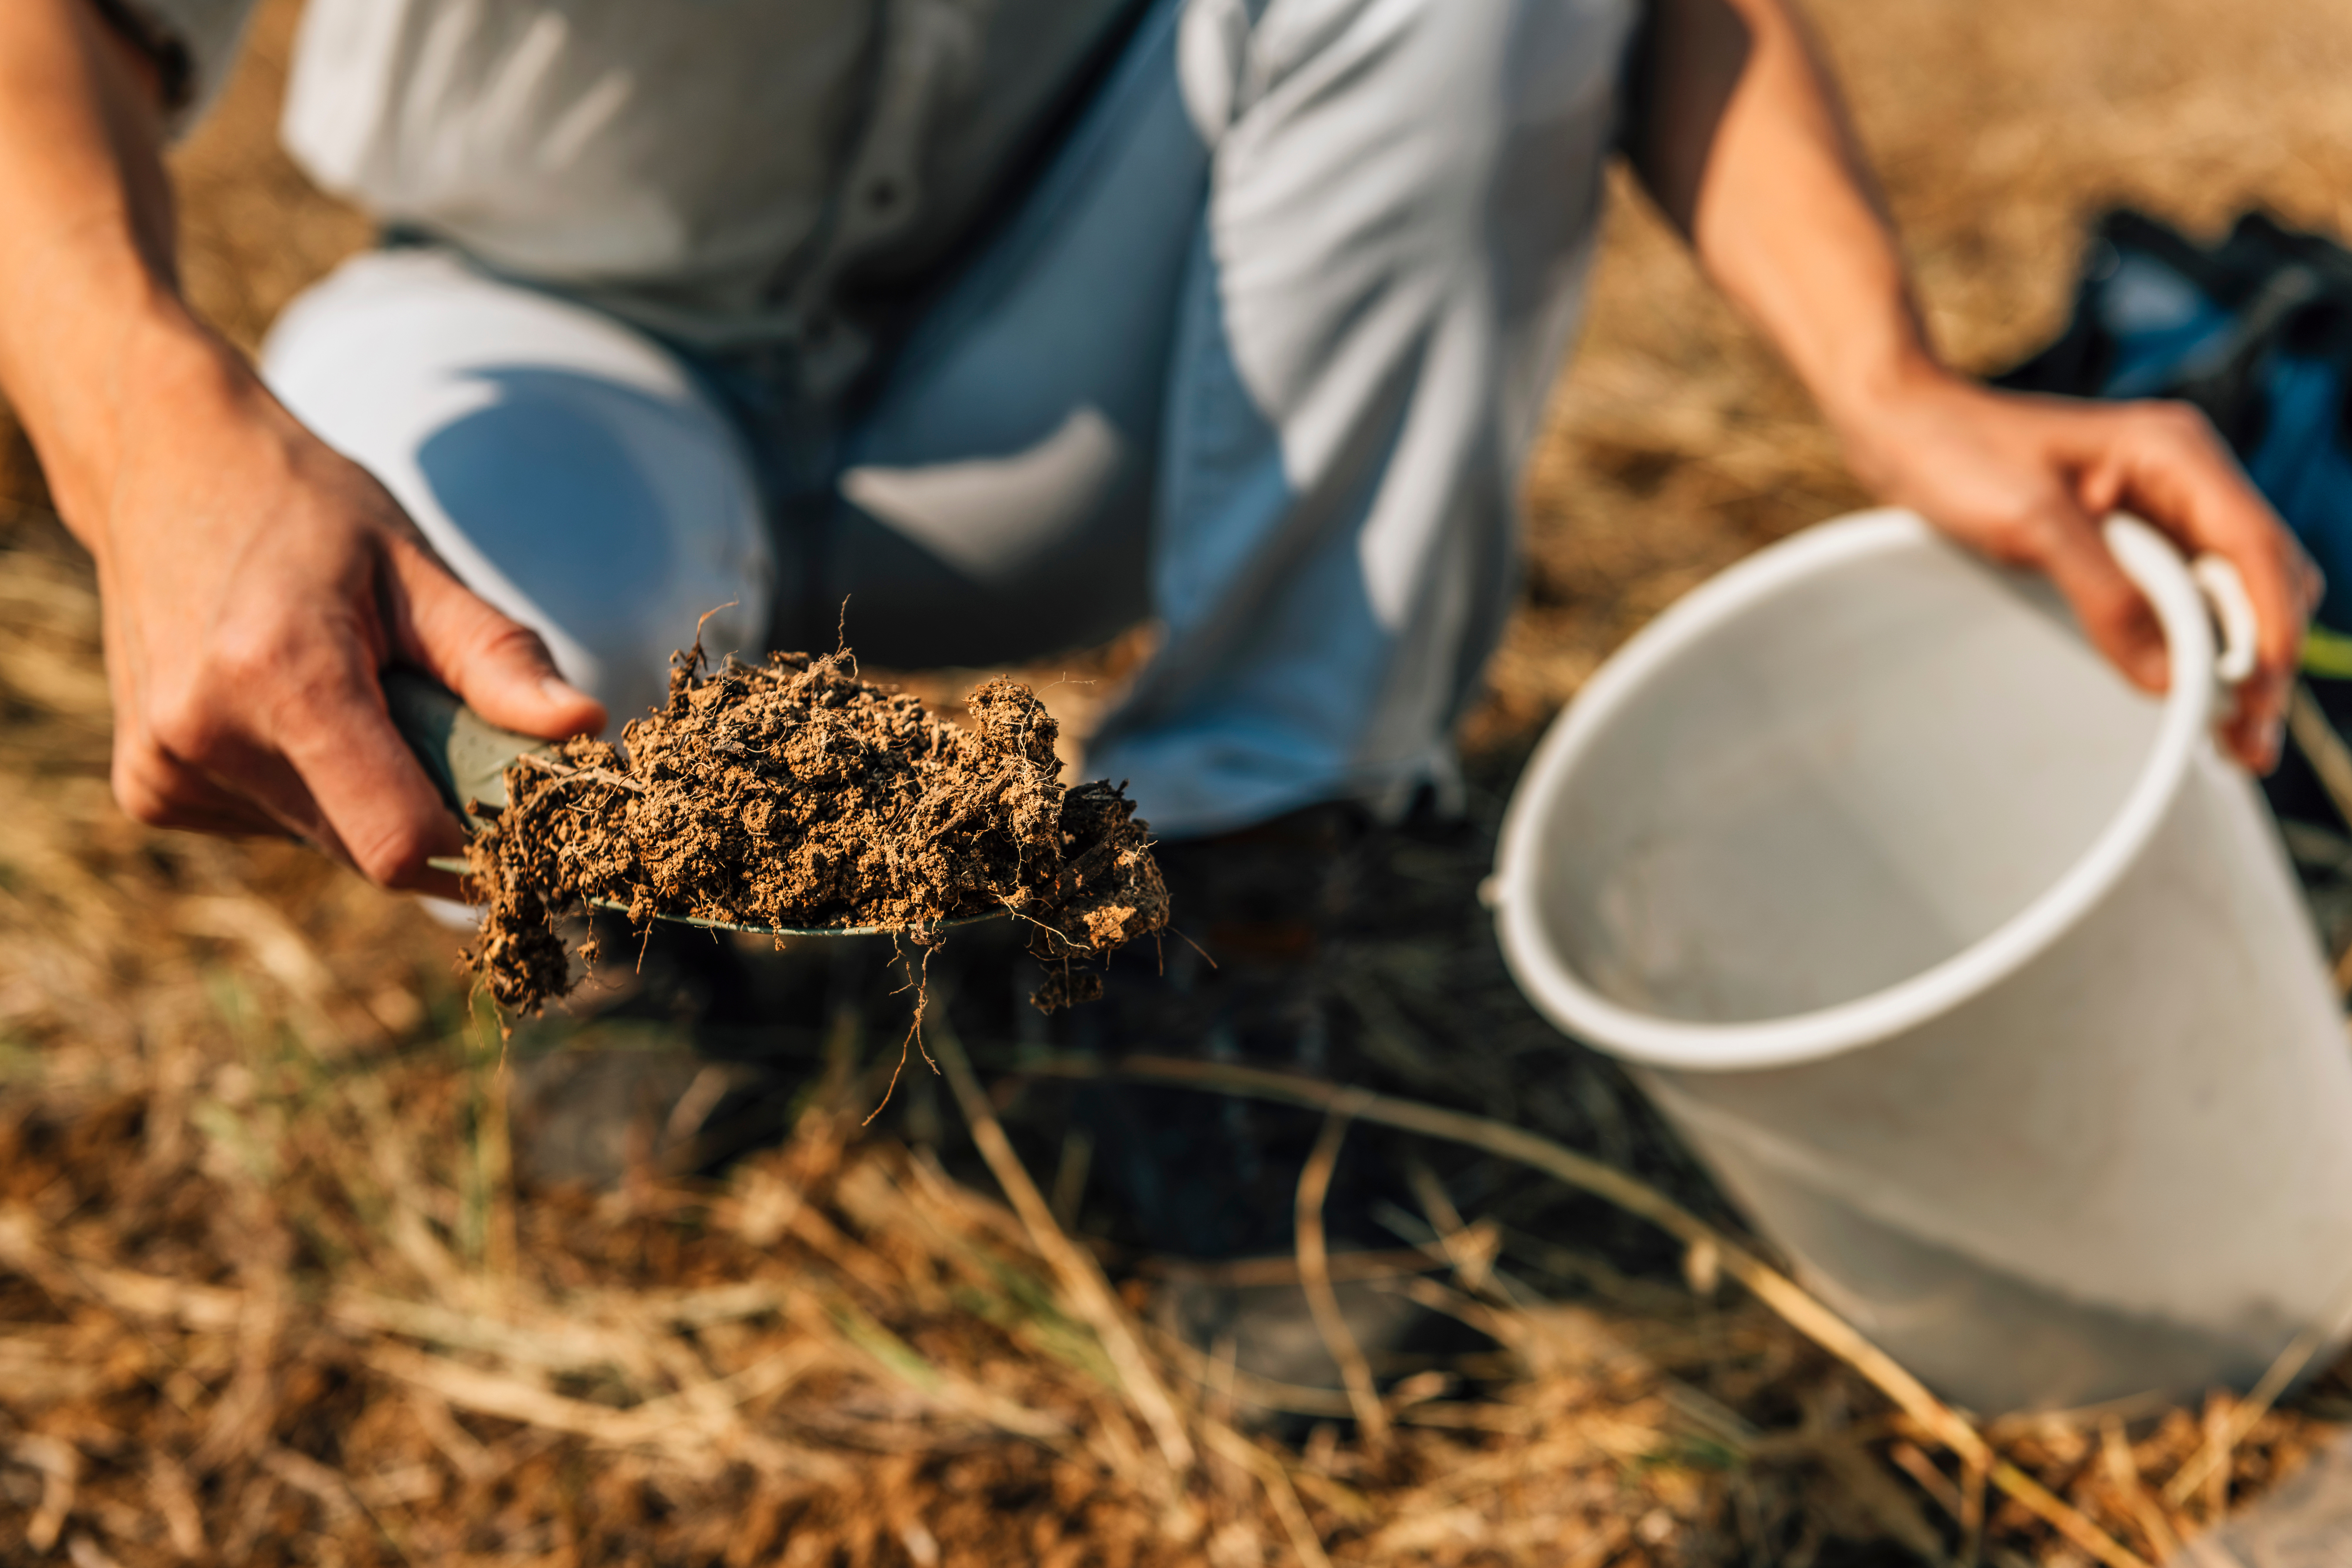
Testing your soil gives you a snapshot of its pH and nutrient levels. You can buy an inexpensive soil test kit or contact your local extension office for help. Based on the results, you might need to amend the soil with lime (to raise pH), sulfur (to lower it), or add nutrients like phosphorus or potassium.
Next, work in compost or topsoil to improve soil structure and fertility. This step helps your sod roots establish faster and more effectively.
Step 4: Till the Soil
Tilling breaks up compacted soil, mixes in your amendments, and creates a better environment for root growth. Till to a depth of about 4 to 6 inches. After tilling, use a rake to smooth the surface again and remove any large clumps or remaining debris.
Step 5: Water the Soil
Before laying sod, water the soil lightly. You want it to be moist but not muddy. This helps create good contact between the sod and the soil underneath, which promotes better root bonding.
Step 6: Final Prep Before Installation
Give the area one last look. Are there dips or hills? Rake them out. Is the surface level and clean? Make sure it is. This is also a good time to set up your irrigation system if you’re installing one.
If you’re working in hot weather, plan to lay your sod early in the day to avoid the afternoon heat. And make sure you’re ready to water immediately after installation.
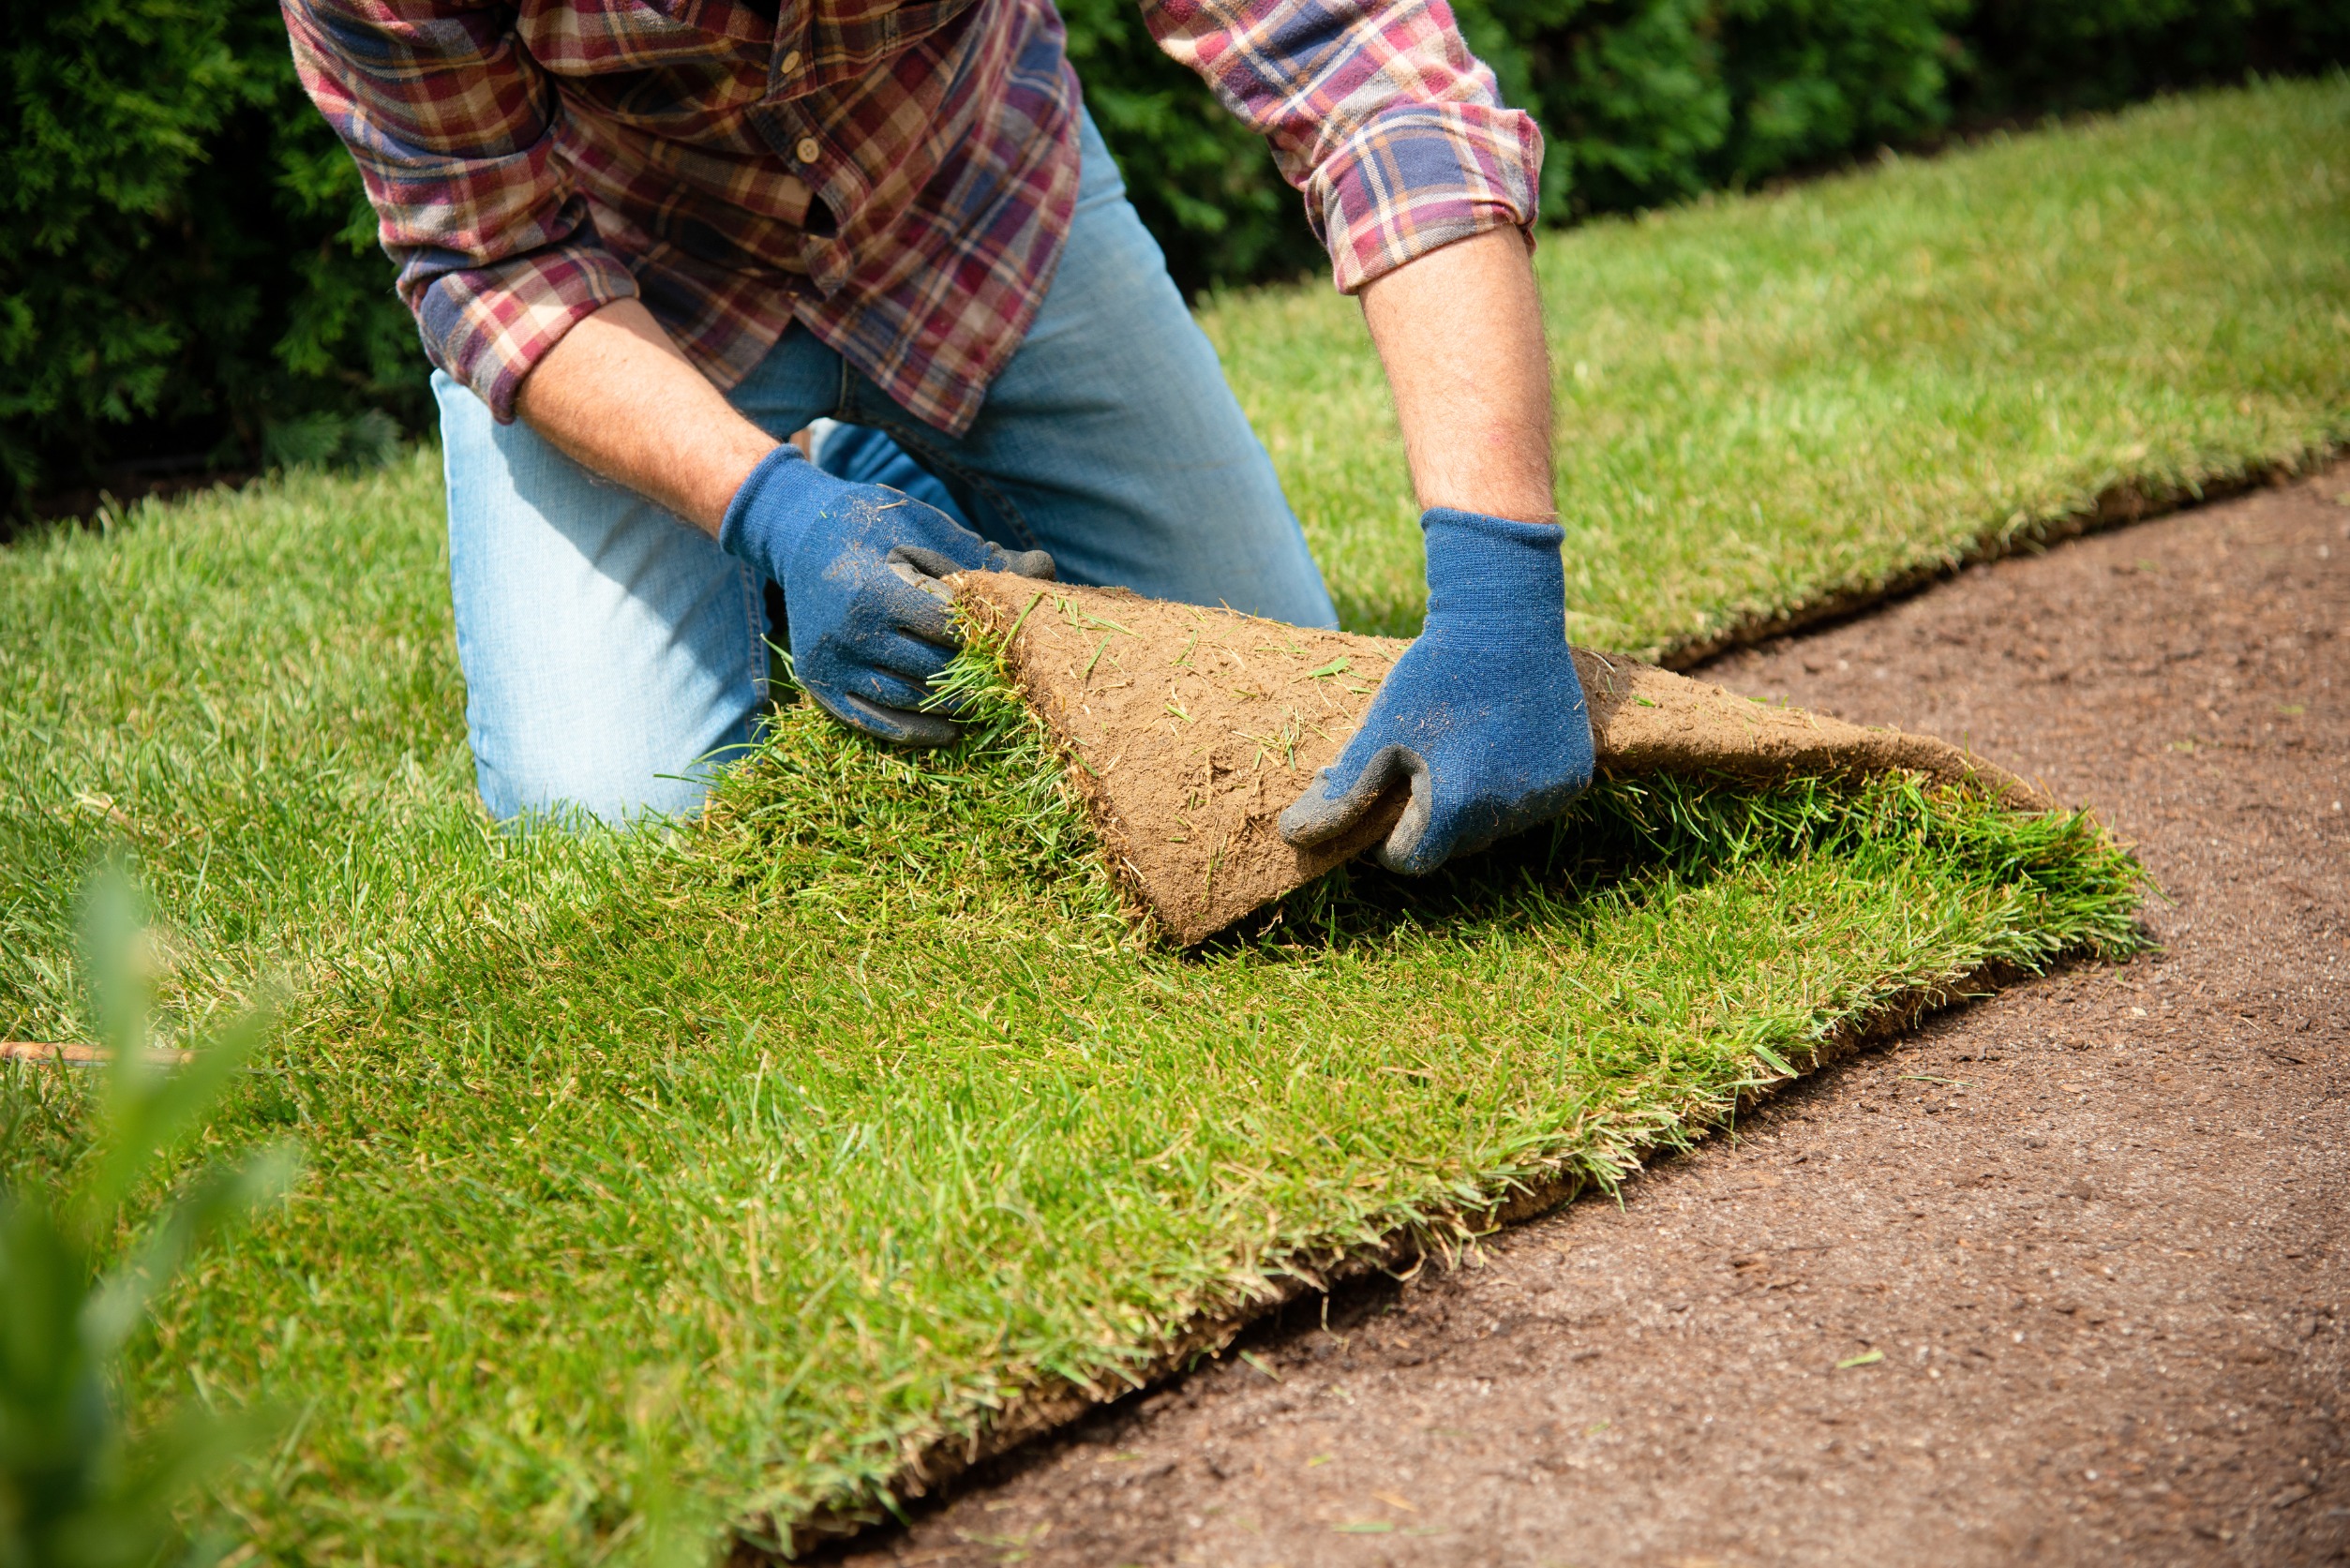
Why Proper Preparation Matters
Skipping steps or rushing through the prep work can cause a host of problems later, from uneven growth to patchy dead spots. Proper preparation ensures your sod has the best chance to root quickly and develop into a healthy, uniform lawn. It’s a little extra effort up front for a lot of payoff later.
Not Up for the Task? Hire the Pros!
Prepping for sod can be a big job, especially if you’re working with a large area or dealing with rocky or compacted soil. If you’re short on time, tools, or patience, there’s no shame in calling in the experts.
The team at Sod Gods knows exactly how to prepare a lawn for sod installation. From soil testing and grading to precision sod laying, they take the guesswork and grunt work out of the equation. Ready to get started? Hire Sod Gods for expert sod installation and watch your new lawn come to life!
Final Thoughts
A great lawn doesn’t start with sod—it starts with the preparation underneath. Taking the time to properly clear, grade, amend, and till your soil makes all the difference in the health and longevity of your lawn. Whether you go the DIY route or hire it out, make sure you don’t skip the prep work. Your future self (and your grass) will thank you.
